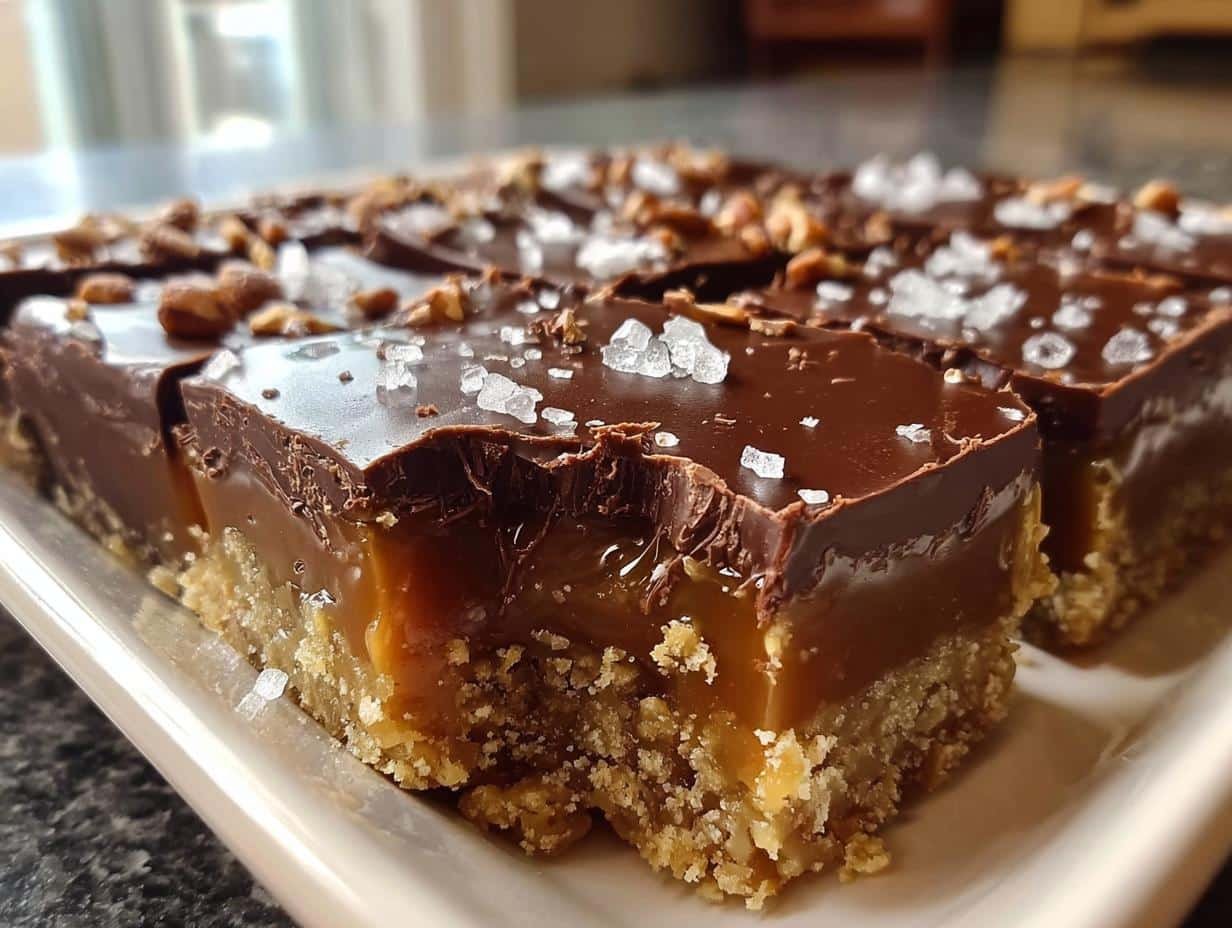
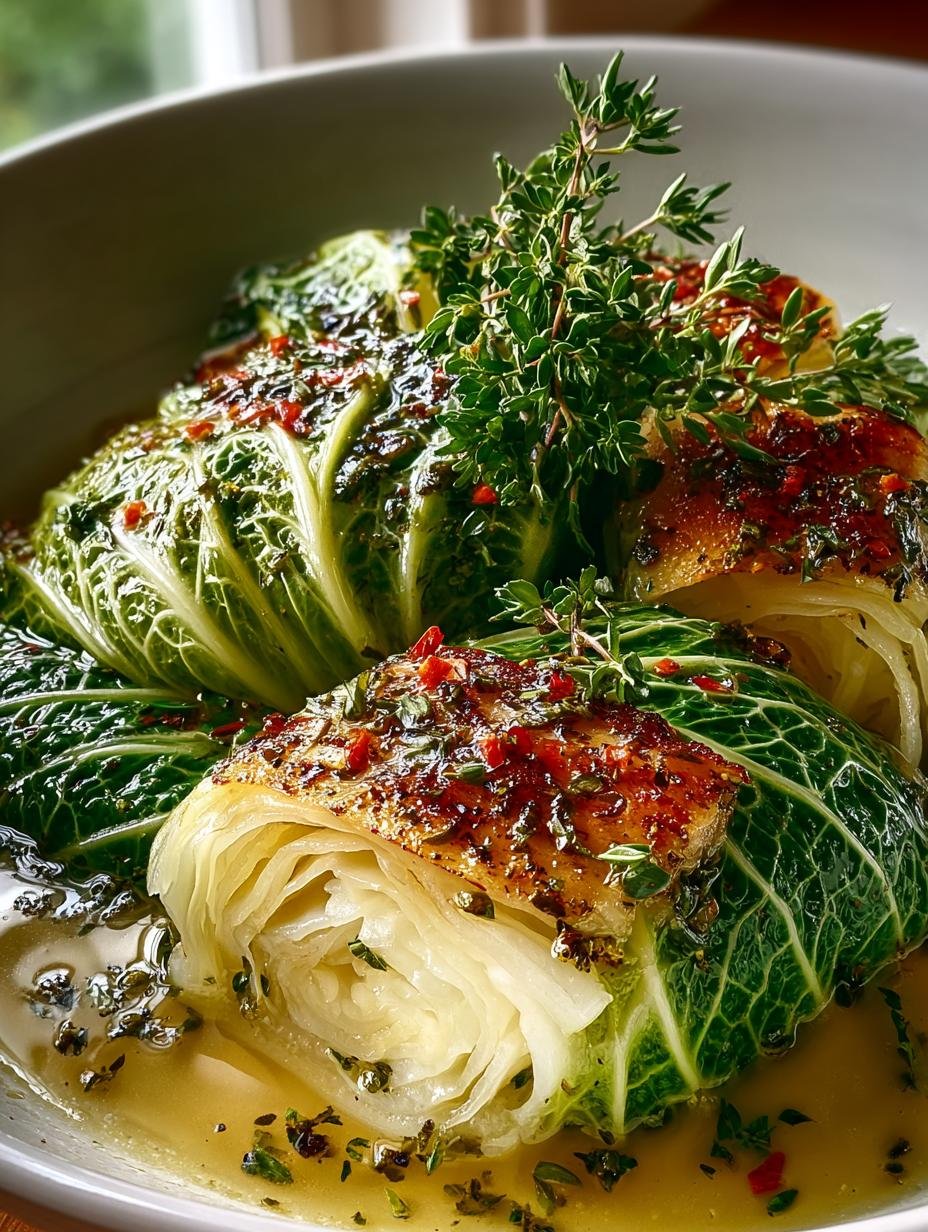
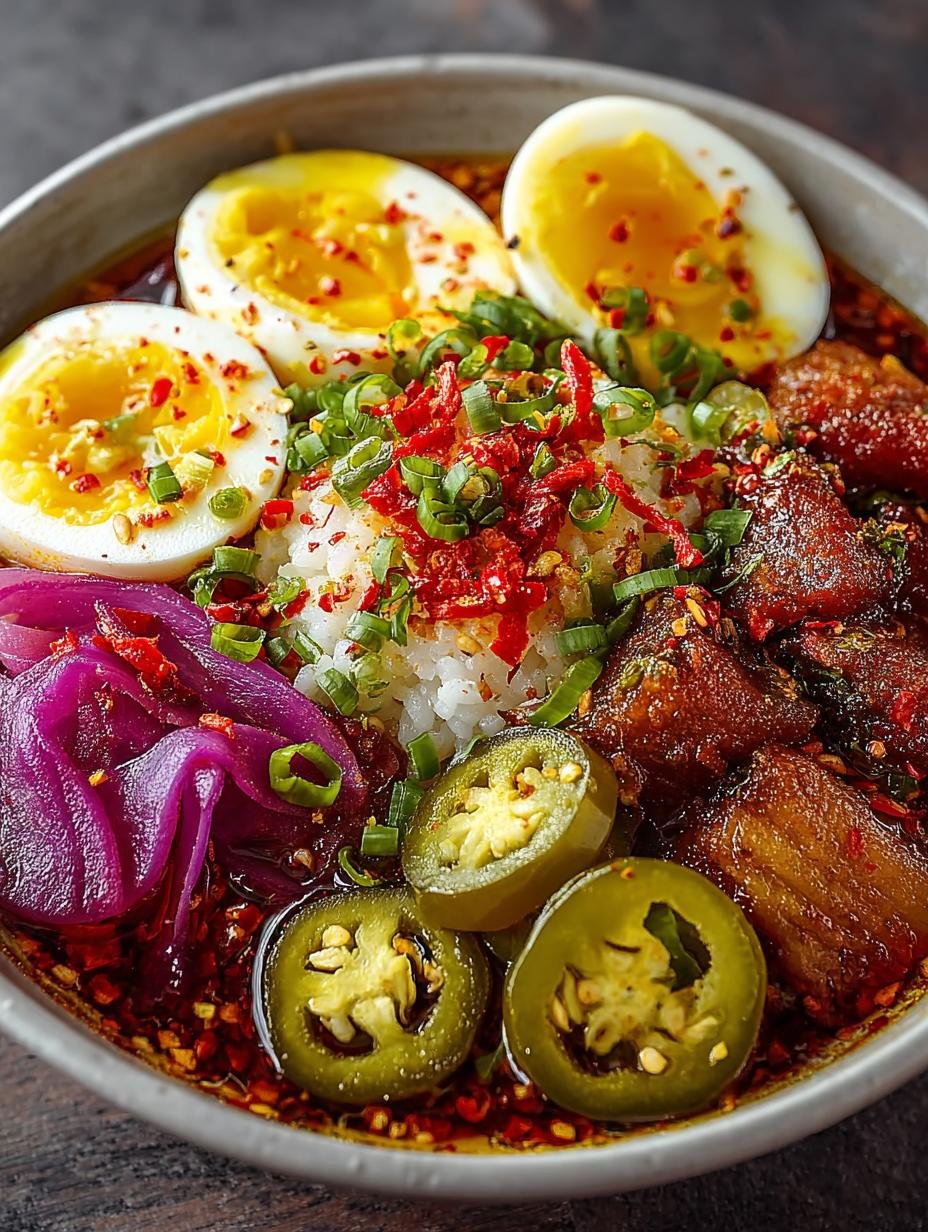
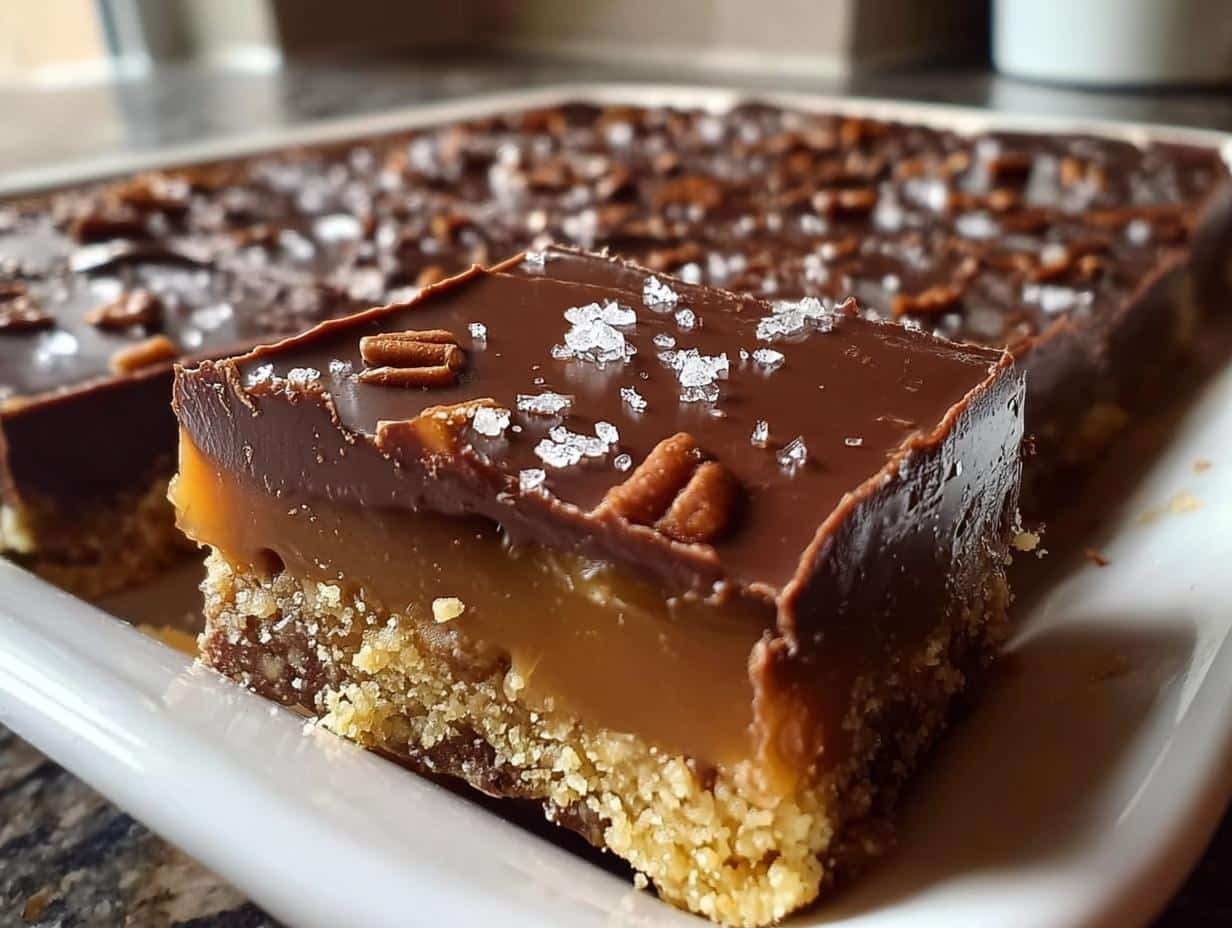
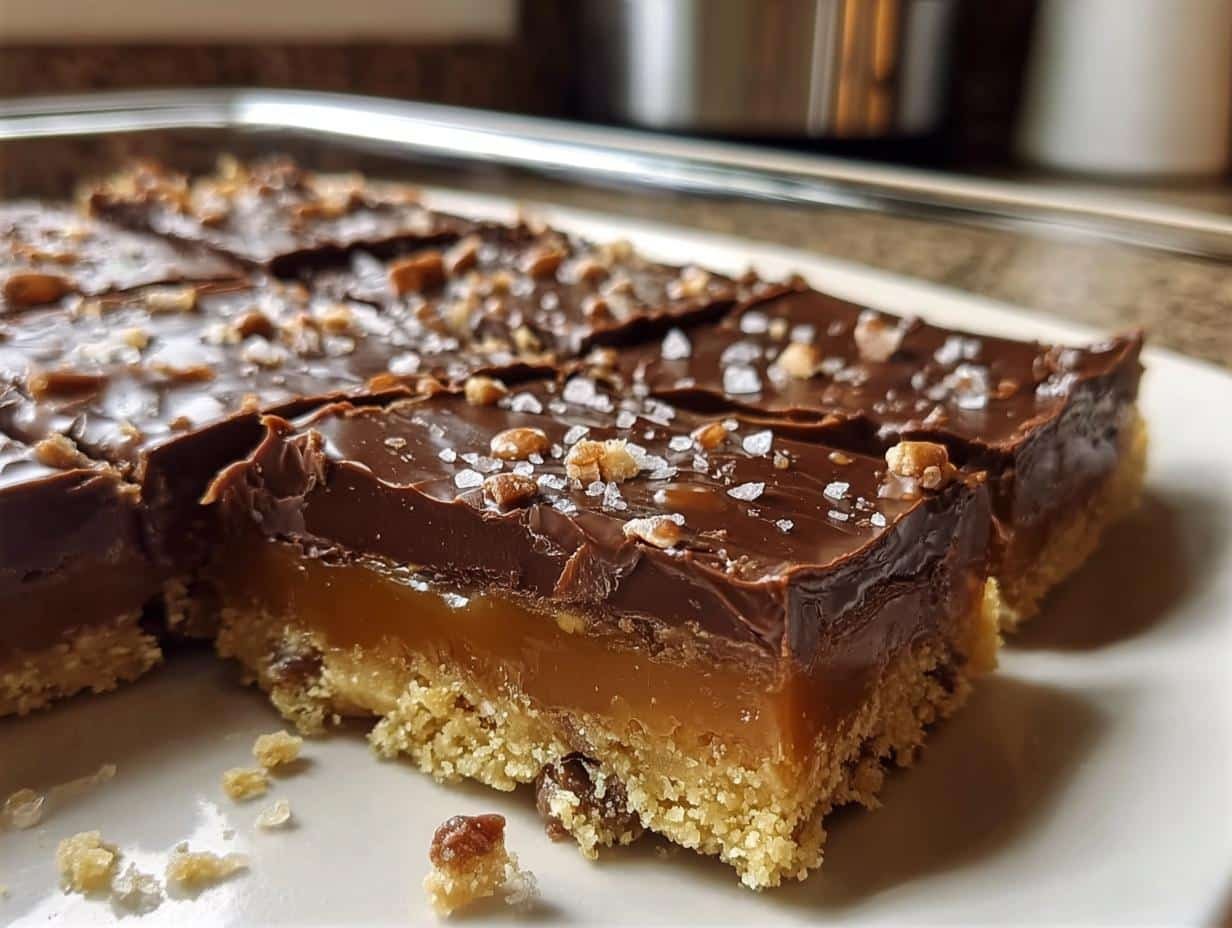
Caramel Chocolate Crunch Bars have become my go-to when I need a seriously satisfying sweet treat that’s surprisingly simple to whip up. These bars are pure magic: a buttery, crumbly base that’s not too sweet, topped with a layer of gooey, chewy caramel, and finished with a crisp chocolate shell that snaps when you bite into it. I remember the first time I made them for a neighborhood potluck; the way the rich chocolate aroma filled my kitchen and the happy sighs of my friends as they tasted them was pure joy. If you’re looking for that perfect balance of textures and flavors, trust me, this homemade caramel chocolate crunch recipe is a winner. Let’s get cooking!
Why You’ll Love These Caramel Chocolate Crunch Bars
These bars are an absolute dream for so many reasons:
- An unbeatable combination of textures – from the crisp chocolate topping to the chewy caramel and buttery base.
- Incredibly quick to prepare, making them perfect for last-minute cravings or busy weeknights.
- A fantastic budget-friendly option that tastes way more impressive than they cost to make.
- The ultimate crowd-pleaser; kids and adults alike adore this classic flavor profile.
- You get that delightful chocolate caramel crunch with every single bite.
- They’re a wonderful make-ahead option for parties or just stocking your freezer.
- The sweet and salty balance in this chocolate caramel crunch is simply addictive.
- A truly satisfying homemade treat that beats store-bought any day.
Ingredients for Caramel Chocolate Crunch Bars
Gathering your ingredients is the first step to making these fantastic caramel chocolate cookie bars. You’ll need a few key components to get that perfect flavor and texture:
- 115 g (½ cup) salted butter, diced – this forms the rich, buttery base
- 150 g honey-graham crackers or digestive biscuits, crushed to fine crumbs – about 10 full crackers, these create the crumbly foundation
- 50 g (¼ cup, lightly packed) brown sugar – adds a touch of molasses-sweetness to the base
- 60 g (2 cups) crisped-rice cereal – for that essential crunch and airy texture
- 400 g (one 14-oz can) sweetened condensed milk – the magic ingredient for a smooth, chewy caramel
- 2 Tbsp golden syrup or light corn syrup – helps prevent crystallization and adds to the caramel’s chewiness
- 1 tsp vanilla extract – enhances all the sweet flavors
- 170 g (6 oz) dark chocolate (60 %–70 % cocoa), roughly chopped – for a decadent, crisp topping
- Big pinch flaky sea salt, for garnish – a touch of salt balances the sweetness beautifully
How to Make Caramel Chocolate Crunch Bars
Creating these delightful bars is a straightforward process that yields incredible results. Follow these simple steps to achieve that perfect balance of textures and flavors:
- Step 1: Build the crunchy base. Melt the 115 g (½ cup) salted butter, diced gently in a medium saucepan over low heat. Once melted and fragrant, take it off the heat. Stir in the 50 g (¼ cup, lightly packed) brown sugar until the mixture resembles damp sand.
- Step 2: Combine the base ingredients. Tip in the 150 g honey-graham crackers or digestive biscuits, crushed to fine crumbs and the 60 g (2 cups) crisped-rice cereal. Switch to a sturdy rubber spatula and really get in there to press, smash, and fold until every single crumb glistens with butter. This is key for that satisfying texture in your easy caramel chocolate crunch bars.
- Step 3: Chill the base. Press this mixture firmly into a parchment-lined 8×8 inch pan. A flat-bottomed measuring cup is your best friend here to get an even, compact layer. Slide the pan into the freezer while you prepare the caramel.
- Step 4: Start the caramel layer. Wipe out the saucepan and pour in the 400 g (one 14-oz can) sweetened condensed milk and 2 Tbsp golden syrup or light corn syrup.
- Step 5: Thicken the caramel. Set the saucepan over medium-low heat. Stir constantly with a silicone spatula, making sure to scrape the corners and bottom of the pan. After about 6–7 minutes, you’ll notice the mixture thicken and turn a slightly deeper, golden color.
- Step 6: Finish the caramel. The moment the caramel looks velvety and coats the back of your spatula, remove it from the heat. Stir in the 1 tsp vanilla extract and immediately pour this luscious caramel over the chilled base.
- Step 7: Set the caramel. Nudge the caramel into all the corners of the pan. Return the pan to the freezer for 20 minutes, or to the refrigerator for 40 minutes, until the surface feels set when you tap it.
- Step 8: Prepare the chocolate topping. Melt the 170 g (6 oz) dark chocolate (60 %–70 % cocoa), roughly chopped. You can do this in a heat-proof bowl set over a pot of barely simmering water, or by microwaving in 20-second bursts, stirring each time until smooth.
- Step 9: Top with chocolate. Pour the glossy melted chocolate over the set caramel layer. Tilt the pan gently so the chocolate covers the entire surface edge to edge.
- Step 10: Add salt and chill. Tap the pan once on the counter to pop any air bubbles. Wait about 2 minutes, then sprinkle the big pinch flaky sea salt, for garnish sparingly over the chocolate. Chill again for at least 45 minutes, until the chocolate is firm enough to cut without smearing, completing your easy caramel chocolate crunch bars.
- Step 11: Slice and serve. Lift the whole slab out of the pan using the parchment paper sling. For the cleanest cuts, use a long, sharp knife that’s been warmed under hot water and then dried well. Score lightly first, then press straight down, wiping the blade between cuts to ensure perfect slices of your homemade caramel chocolate crunch.
Pro Tips for the Best Caramel Chocolate Crunch Bars
To ensure your bars are absolutely perfect every time, here are a few tricks I’ve picked up:
- Don’t overcook the caramel; it should be thick but still pourable. Overcooking leads to a hard, brittle layer.
- Press the base mixture firmly into the pan. This is crucial for bars that hold their shape and don’t crumble apart.
- Use good quality dark chocolate for the topping. It makes a significant difference in flavor and texture.
- Warming your knife is a game-changer for slicing. It prevents the chocolate from cracking and gives you clean edges.
What’s the secret to perfect caramel chocolate crunch?
The magic lies in the balance. The key is not to overcook the caramel so it stays chewy, and to press the base really firmly. This ensures you get that delightful crunchy caramel chocolate texture we all love. For more baking inspiration, check out our collection of recipes.
Can I make caramel chocolate crunch bars ahead of time?
Absolutely! These bars are perfect for making ahead. Once cut, store them in an airtight container in the refrigerator for up to a week. They’re even better after a day, as the flavors meld. Learn more about proper food storage techniques from foodsafety.gov.
How do I avoid common mistakes with caramel chocolate crunch bars?
A common pitfall is cutting the bars before the chocolate is fully set, leading to smearing. Be patient and chill them thoroughly. Also, avoid burning the caramel; stir constantly over medium-low heat to prevent this. If you’re looking for other delicious treats, you might enjoy our Romanian Chiftele.
Best Ways to Serve Caramel Chocolate Crunch Bars
These bars are incredibly versatile and can be enjoyed in so many ways! They’re fantastic on their own as a satisfying snack or a delightful treat after a meal. For a truly decadent experience, consider serving them slightly warmed with a scoop of vanilla bean ice cream or a dollop of whipped cream – they transform into amazing caramel chocolate dessert bars this way.
They also pair beautifully with a cup of coffee or a glass of cold milk. If you’re packing them for a picnic or a lunchbox, they hold up exceptionally well, offering a burst of sweet energy without a mess. For a more sophisticated dessert platter, cut them into smaller, bite-sized pieces and arrange them alongside fresh berries or a drizzle of chocolate sauce. You might also like our Chicken Meatballs with Lemon Orzo for another delightful meal.
Nutrition Facts for Caramel Chocolate Crunch Bars
Here’s a look at the nutritional breakdown per serving of these delicious bars:
- Calories: 250
- Fat: 15g
- Saturated Fat: 9g
- Protein: 3g
- Carbohydrates: 30g
- Fiber: 1g
- Sugar: 20g
- Sodium: 100mg
Nutritional values are estimates and may vary based on the specific ingredients used and portion sizes. For more information on nutritional guidelines, consult the MyPlate initiative.
How to Store and Reheat Caramel Chocolate Crunch Bars
Once your delicious caramel chocolate crunch bars have cooled completely, it’s time to think about storage. For the best texture and flavor, I like to lift the entire slab out using the parchment paper sling and let it rest on a cutting board. Then, I slice them into individual bars. Store these caramel chocolate treat bars in an airtight container. They’ll keep well in the refrigerator for about 3 to 4 days. If you want to keep them even longer, freezing is a fantastic option. Wrap each bar tightly in plastic wrap, then in foil, and they’ll stay fresh in the freezer for up to 3 months. You can find more tips on freezing baked goods on sites like King Arthur Baking.
To reheat, simply let the bars sit at room temperature for about 15-20 minutes if they’ve been refrigerated, or about 30-40 minutes if they’ve come straight from the freezer. This allows the caramel to soften beautifully and the chocolate to regain that lovely snap. Enjoy!
Frequently Asked Questions About Caramel Chocolate Crunch Bars
What exactly are caramel chocolate crunch bars?
These delightful bars are a layered treat featuring a buttery, crushed cookie or graham cracker base, followed by a layer of chewy, cooked caramel, and topped with a crisp chocolate coating, often sprinkled with sea salt. They offer a fantastic combination of textures and sweet, salty flavors. For more dessert ideas, explore our recipes.
How do I make caramel chocolate crunch bars at home?
Making them involves creating a pressed crumb base, then a simple no-thermometer caramel sauce from condensed milk and syrup. You pour the caramel over the chilled base, let it set, then top with melted chocolate and chill again before cutting. It’s a straightforward process that yields impressive results! If you’re interested in other simple recipes, consider our Teriyaki Chicken Sheet Pan Supper.
Can I add nuts to my caramel chocolate crunch bars?
Absolutely! Toasted nuts like almonds, pecans, or hazelnuts are a wonderful addition. You can either mix them into the base along with the cereal, or sprinkle them over the caramel layer just before adding the chocolate topping for an extra layer of flavor and crunch.
Are caramel chocolate crunch bars a good make-ahead dessert?
Yes, they are perfect for making ahead! They store well in the refrigerator for several days, and can even be frozen for a couple of months. This makes them an excellent choice for parties, bake sales, or simply having a delicious homemade treat readily available. For other make-ahead meals, try our Jalapeno Buffalo Chicken Casserole.
Variations of Caramel Chocolate Crunch Bars You Can Try
Once you’ve mastered the basic recipe, there are so many fun ways to customize these delicious bars. Get creative and make them your own!
- For a nutty twist: Easily transform these into caramel nut chocolate bars by adding about 1 cup of toasted chopped nuts (like almonds, pecans, or walnuts) to the base mixture along with the cereal, or sprinkle them over the caramel layer before the chocolate topping.
- Go for a toffee crunch: For a delightful variation reminiscent of chocolate toffee crunch bars, try crushing some toffee bits or Heath bar pieces and mixing them into the chocolate topping before it sets.
- Dietary adaptations: Make these bars gluten-free by using gluten-free graham crackers or digestive biscuits and gluten-free crisped-rice cereal. For a vegan version, use plant-based butter and coconut condensed milk.
- Flavor boosters: Add a teaspoon of instant espresso powder to the melted chocolate for a mocha kick, or mix a pinch of cinnamon into the base for a warm, spiced flavor.
Caramel Chocolate Crunch Bars: 1 Perfect Recipe
Enjoy these easy-to-make Caramel Chocolate Crunch Bars, featuring a buttery crumb base, chewy caramel, and a crisp chocolate topping. Perfect for picnics, travel, or a sweet treat.
- Prep Time: 20 minutes
- Cook Time: 15 minutes
- Total Time: 1 hour 20 minutes
- Yield: 16 servings 1x
- Category: Dessert Bars
- Method: No-Bake
- Cuisine: American
- Diet: Vegetarian
Ingredients
- For the Crunchy Base:
- 115 g (½ cup) salted butter, diced
- 150 g honey-graham crackers or digestive biscuits, crushed to fine crumbs (about 10 full crackers)
- 50 g (¼ cup, lightly packed) brown sugar
- 60 g (2 cups) crisped-rice cereal
- For the Caramel Layer:
- 400 g (one 14-oz can) sweetened condensed milk
- 2 Tbsp golden syrup or light corn syrup
- 1 tsp vanilla extract
- For the Chocolate Topping:
- 170 g (6 oz) dark chocolate (60 %–70 % cocoa), roughly chopped
- Big pinch flaky sea salt, for garnish
Instructions
- Build the crunchy base: Melt the butter gently in a medium saucepan over low heat. Off the heat, stir in the brown sugar until it looks like damp sand.
- Tip in the crushed crackers and crisped-rice cereal. Switch to a sturdy rubber spatula and press, smash, and fold until every crumb glistens.
- Press this mixture firmly into a parchment-lined pan. A flat-bottomed measuring cup works wonders. Slide the pan into the freezer while you tackle the caramel.
- Caramel layer—no thermometer needed: Wipe out the saucepan and pour in the condensed milk and golden syrup.
- Set over medium-low heat and stir with a silicone spatula, scraping the corners constantly. After 6–7 minutes the mixture will thicken and turn slightly deeper in colour.
- The moment the caramel looks velvety and coats the back of a spoon, remove from the heat, stir in vanilla, and immediately pour over the chilled base.
- Nudge it into the corners. Return the pan to the freezer for 20 minutes (or refrigerator for 40) until the surface feels set when tapped.
- Chocolate finish: Melt the chopped chocolate in a heat-proof bowl set over a pot of barely simmering water, or microwave in 20-second bursts, stirring each time.
- Stop when a few lumps remain and let residual heat finish the job. Pour the glossy pool over the caramel, tilting the pan so it covers edge to edge.
- Tap once on the counter to pop air bubbles. Wait 2 minutes, then sprinkle flaky salt sparingly.
- Chill again, at least 45 minutes, until the chocolate is firm enough to cut without smearing.
- Slice and serve: Lift the whole slab out with the parchment sling. Use a long, sharp knife warmed under hot water (then dried) for the cleanest cuts.
- Score lightly first, then press straight down. Wipe the blade between cuts.
Notes
- Store in an airtight tin in the refrigerator up to 1 week or freeze up to 2 months.
- Frozen bars thaw in about 15 minutes.
- For a nutty version, swap half the cereal for toasted almonds or hazelnuts.
- Add instant espresso powder to the melted chocolate for a mocha finish.
- Add ground ginger to the base for a gingery kick.
- Use gluten-free crisped-rice cereal and crackers for a gluten-free option.
- Use coconut condensed milk and plant-based butter for a vegan option.
Nutrition
- Serving Size: 1 bar
- Calories: 250
- Sugar: 20g
- Sodium: 100mg
- Fat: 15g
- Saturated Fat: 9g
- Unsaturated Fat: 6g
- Trans Fat: 0g
- Carbohydrates: 30g
- Fiber: 1g
- Protein: 3g
- Cholesterol: 25mg
