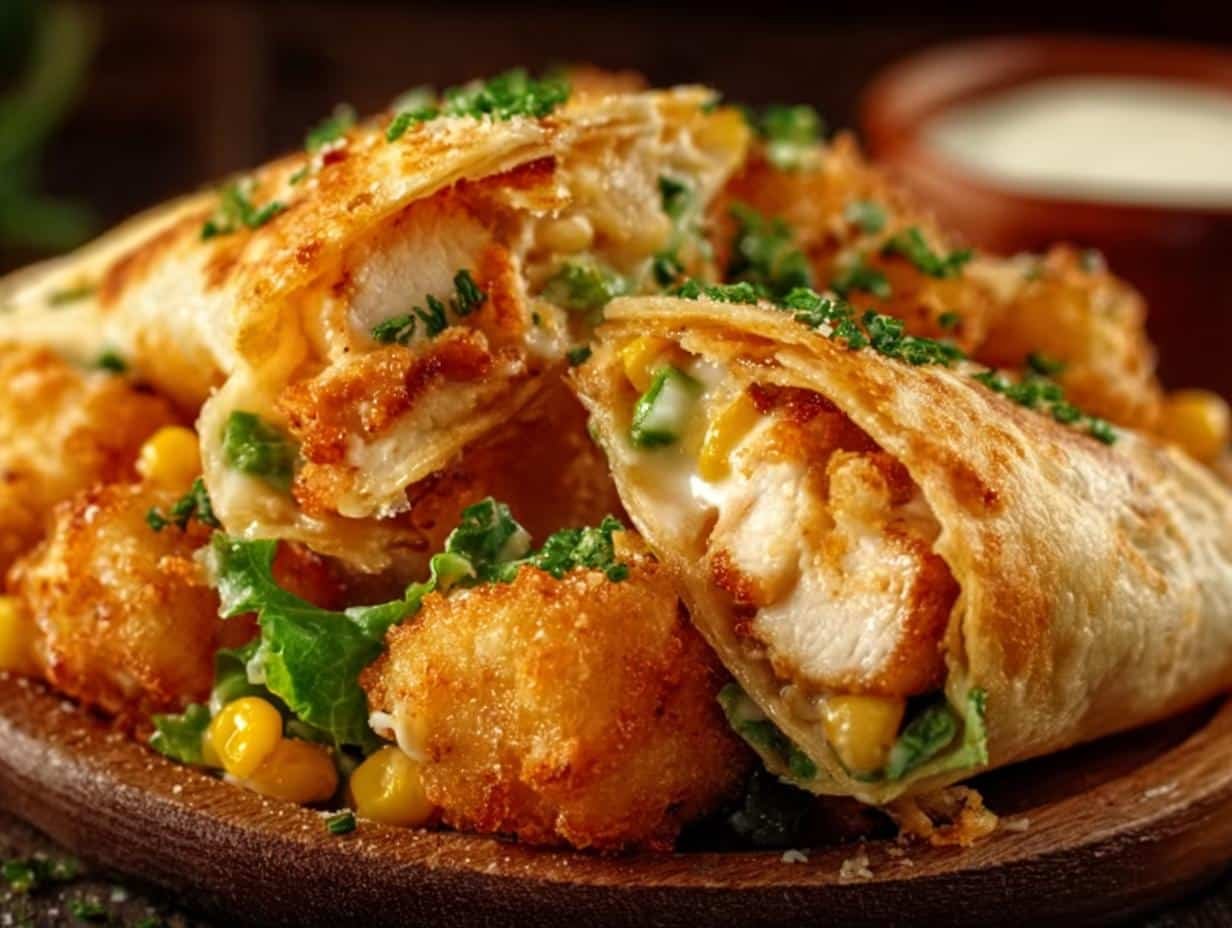
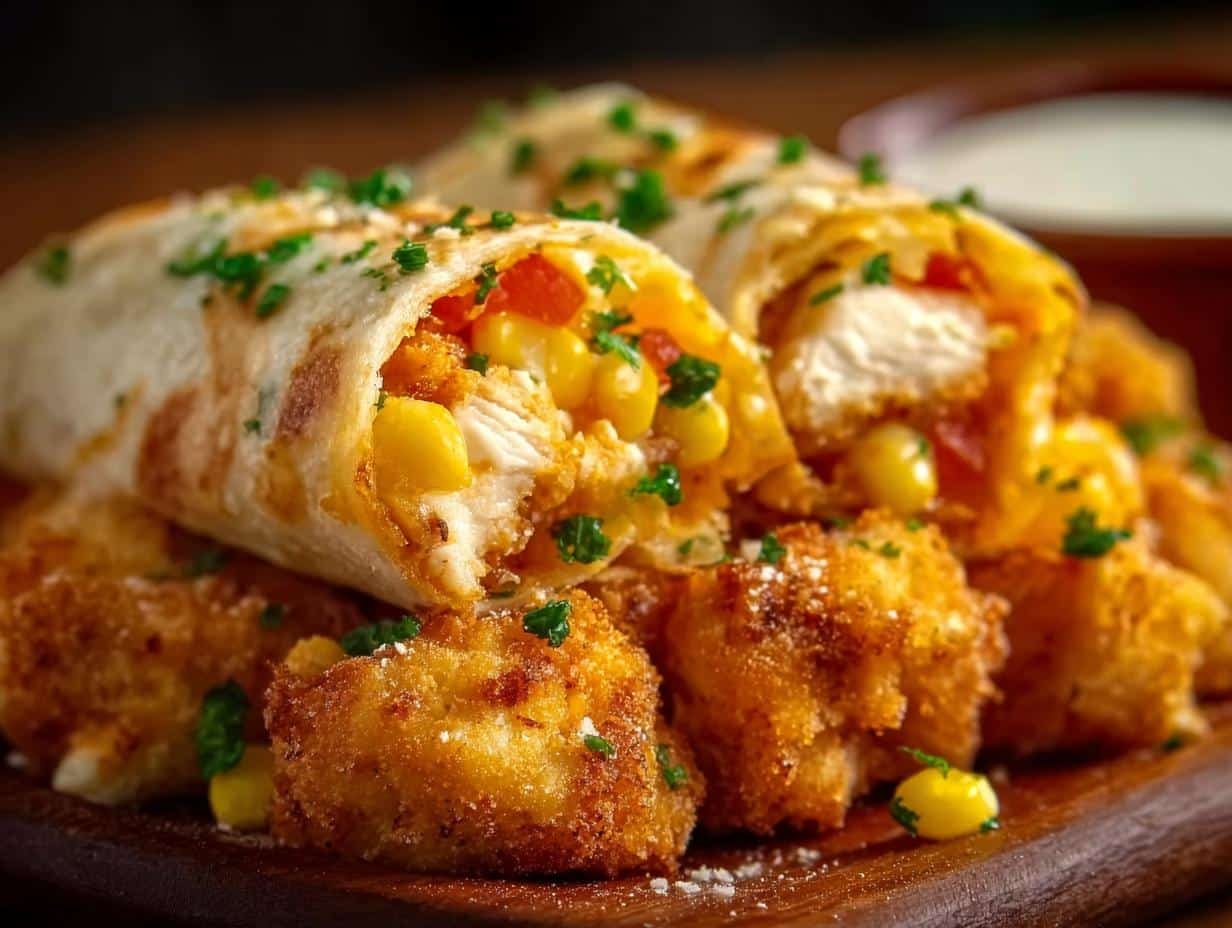
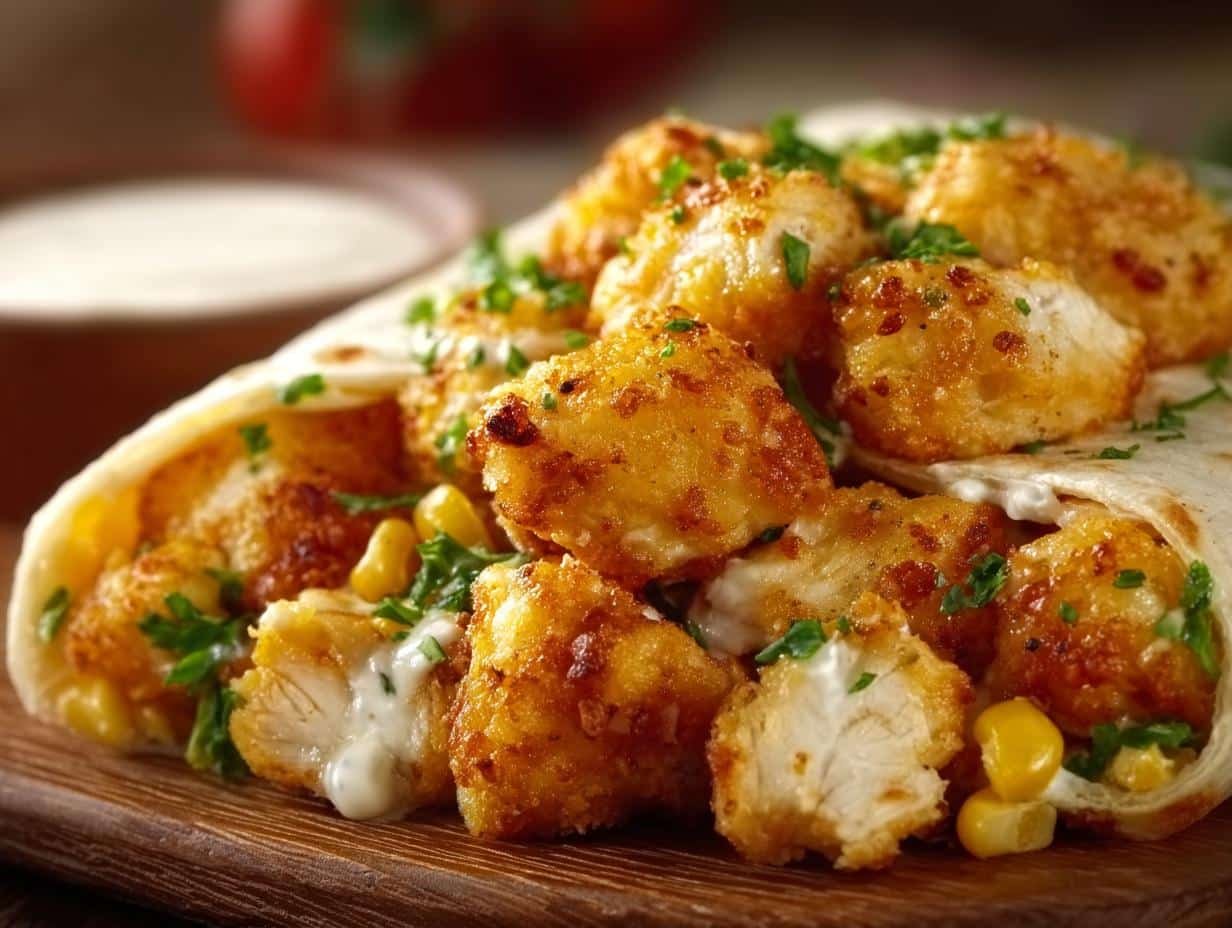
Ooey Gooey Cheesy Garlic Chicken Wraps have been a revelation in my kitchen lately. Are you ever craving something incredibly cheesy and satisfying without the fuss? I stumbled upon this recipe during a busy weeknight, and it quickly became a family favorite. Imagine warm tortillas encasing a creamy, savory filling, studded with melted mozzarella and bursting with garlic flavor, all grilled to golden perfection. It’s the ultimate **easy ooey gooey cheese garlic** meal that’s as delightful to make as it is to eat. Let’s get cooking!
Why You’ll Love This Ooey Gooey Cheesy Garlic Recipe
You’re going to adore these wraps because they truly deliver on their name!
- They are incredibly cheesy and satisfying, absolutely living up to the “Ooey Gooey” promise with every bite.
- This recipe is remarkably quick and easy to prepare, making it a perfect go-to for busy weeknights when you need dinner fast.
- You’ll love how packed with flavor they are, thanks to the generous amount of garlic, optional herbs, and a dreamy creamy cheese blend.
- It uses simple, readily available ingredients, making it a budget-friendly meal that doesn’t skimp on taste.
- These wraps are wonderfully family-friendly and easily customizable to suit everyone’s preferences.
- It’s a delicious and smart way to use up leftover cooked chicken you might have on hand.
- You’ll find the perfect balance of savory, creamy, and cheesy goodness that makes these wraps irresistible.
- The filling itself has a Cheesy garlic bread recipe style that makes these wraps utterly craveable and a guaranteed hit.
Ingredients for Ooey Gooey Cheesy Garlic Chicken Wraps
Here’s everything you need to create these incredibly satisfying wraps. This list ensures you have the perfect components for that signature ooey gooey texture and mouthwatering flavor that truly defines **Ooey Gooey Cheesy Garlic**!
- 2 cups cooked chicken, shredded: This is the savory base for our delicious filling.
- 1 cup shredded mozzarella cheese: Absolutely essential for that signature, stretchy, gooey cheese pull we all love.
- ½ cup cream cheese, softened: This adds an incredible creaminess and richness that makes the filling so decadent.
- 2 tablespoons garlic, minced: The star flavor that provides that essential, punchy garlic taste.
- 1 teaspoon garlic powder: This boosts the garlic flavor even further for an extra kick.
- 1 teaspoon chopped fresh parsley (optional): Adds a lovely touch of freshness and a hint of color.
- 4 large flour tortillas: These act as the perfect vessel for our delicious Ooey Gooey Cheesy Garlic mixture.
- ½ teaspoon salt: Crucial for balancing all the flavors in the filling.
- ½ teaspoon black pepper: Adds just a subtle warmth and depth.
- 1 tablespoon olive oil: We’ll use this for crisping up the tortillas to a perfect golden brown.
- Cooking spray (optional): If you want an extra crispy exterior, a little cooking spray does the trick.
How to Make Ooey Gooey Cheesy Garlic Chicken Wraps
Let’s get these delicious wraps cooking! It’s a simple process that leads to incredibly satisfying results.
- Step 1: Prepare the Filling: In a large bowl, combine the shredded cooked chicken, shredded mozzarella cheese, softened cream cheese, minced garlic, garlic powder, optional parsley, salt, and black pepper. Mix everything thoroughly until well combined. This mixture is the heart of your Mouthwatering Cheesy Garlic delight, ready to be transformed into a fantastic meal.
- Step 2: Warm Tortillas: Gently warm each large flour tortilla in a dry skillet over medium heat for about 30 seconds per side. This step is crucial as it makes them pliable and much easier to roll, preventing any frustrating tearing as you assemble your wraps.
- Step 3: Assemble the Wraps: Lay a warmed tortilla flat on your work surface. Spoon a generous portion of the chicken and cheese mixture onto the center of the tortilla, making sure not to overfill it.
- Step 4: Fold and Roll: Fold the sides of the tortilla inward towards the center, creating a neat package. Then, tightly roll the tortilla from the bottom upwards to create a compact wrap, ready for cooking.
- Step 5: Cook the Wraps: Lightly coat a skillet with olive oil and heat it over medium heat. For that extra crispy exterior everyone loves, you can lightly spray the outside of each wrap with cooking spray. This ensures a beautiful golden finish.
- Step 6: Sear for Golden Brown Perfection: Carefully place each wrap seam-side down into the hot skillet. Cook for 3-4 minutes per side. You’re looking for the tortillas to become beautifully golden brown and for the cheese inside to be visibly oozing out – the unmistakable sign of a truly Garlic Cheese Pull Bread masterpiece.
- Step 7: Rest and Serve: Transfer the cooked wraps to a cutting board and let them cool slightly for a minute or two. This brief rest allows the cheese to set just enough so it doesn’t all spill out when you cut them. Cut each wrap in half diagonally and serve immediately to enjoy that perfect, melty texture.
Pro Tips for the Best Ooey Gooey Cheesy Garlic Wraps
Want to elevate your wraps from great to absolutely unforgettable? I’ve picked up a few tricks along the way that make all the difference.
- Don’t Overstuff: It’s tempting to pile on that delicious filling, but overfilling the tortillas can lead to them bursting during cooking. Aim for a generous, but manageable, amount.
- Medium Heat is Key: Cooking these wraps on medium heat is crucial. It ensures the tortilla gets beautifully golden brown and crispy without burning, while giving the cheese inside plenty of time to melt thoroughly.
- Press Gently: When your wraps are in the skillet, you can gently press down on them with a spatula. This encourages even browning and helps the cheese melt and ooze out perfectly.
- Customize Your Cheese: While mozzarella and cream cheese are fantastic, feel free to mix in other cheeses like sharp cheddar, Monterey Jack, or even a spicy pepper jack for a different flavor profile.
- Add a Binder: If your chicken mixture seems a little dry, a tablespoon or two of mayonnaise or even a bit of ranch dressing can add extra moisture and a wonderful tangy flavor to your Ooey Gooey Cheesy Garlic filling.
What’s the secret to perfect Ooey Gooey Cheesy Garlic?
The secret to perfect **Ooey Gooey Cheesy Garlic** is a balanced cheese blend and proper cooking temperature. Using both mozzarella for stretch and cream cheese for creaminess creates the ultimate gooey texture. Cooking over medium heat ensures the exterior crisps up beautifully while the interior melts to perfection, embodying the essence of garlic butter cheese bread.
Can I make Ooey Gooey Cheesy Garlic wraps ahead of time?
Yes, you can assemble the **Ooey Gooey Cheesy Garlic** wraps ahead of time. Prepare the filling and assemble the wraps, then store them uncooked in an airtight container or wrapped individually in the refrigerator for up to 24 hours before cooking. For longer storage, see the freezing instructions.
How do I avoid common mistakes with Ooey Gooey Cheesy Garlic wraps?
A common mistake is overfilling the wraps, which can cause them to burst. Prevent this by using a generous but manageable amount of filling. Another pitfall is cooking on too high heat, leading to burnt tortillas and unmelted cheese. Ensure you use medium heat for even crisping and thorough melting of the Melted Cheese Garlic Bread filling.
Best Ways to Serve Ooey Gooey Cheesy Garlic Wraps
These **Ooey Gooey Cheesy Garlic** wraps are absolutely delicious served piping hot right off the skillet. They pair wonderfully with a crisp side salad tossed with a light vinaigrette to help balance the richness of the cheesy filling. If you’re looking for a heartier meal, serving them alongside a warm cup of tomato soup or a comforting bowl of chili is always a fantastic idea. They also make a surprisingly great appetizer, especially when cut into smaller wedges, particularly if you’re aiming for that delightful Garlic Cheesy Pull Apart Bread experience that guests will rave about. The versatility means they fit perfectly as a main course or a shareable snack.
Nutrition Facts for Ooey Gooey Cheesy Garlic Wraps
Here’s a breakdown of the approximate nutritional information per serving for these fantastic wraps. Enjoying this Mouthwatering Cheesy Garlic dish can fit into your meal plan!
- Serving Size: 1 wrap
- Calories: Approximately 450 kcal
- Fat: Approximately 20g
- Saturated Fat: Approximately 10g
- Unsaturated Fat: Approximately 10g
- Trans Fat: 0g
- Carbohydrates: Approximately 30g
- Fiber: Approximately 2g
- Sugar: Approximately 3g
- Protein: Approximately 35g
- Cholesterol: Approximately 90mg
- Sodium: Approximately 700mg
Nutritional values are estimates and can vary based on the specific ingredients and brands you use for your **Ooey Gooey Cheesy Garlic** wraps.
How to Store and Reheat Ooey Gooey Cheesy Garlic Wraps
Properly storing your delicious **Ooey Gooey Cheesy Garlic** wraps ensures you can enjoy them later. First, make sure the wraps have cooled completely before storing them. You can refrigerate leftover cooked wraps in an airtight container for up to 3-4 days. For longer storage, consider assembling uncooked wraps. Wrap them individually in plastic wrap, then place them in a freezer bag for up to 2 months. This is a great way to have quick cheesy garlic bread style meals ready anytime.
When you’re ready to reheat your delicious wraps, you have a couple of great options. For cooked leftovers, use a skillet over medium heat until they are warmed through and wonderfully crispy again. Alternatively, bake them in a preheated oven at 350°F (175°C) for about 10-15 minutes. If you’re reheating frozen uncooked wraps, thaw them overnight in the refrigerator before cooking them as directed in the main recipe instructions.
Frequently Asked Questions About Ooey Gooey Cheesy Garlic Wraps
Can I use different types of tortillas?
Yes, absolutely! You can certainly use whole wheat, spinach, or even gluten-free tortillas for your wraps. Just be aware that you might need to adjust the cooking time slightly depending on the type of tortilla. The key is to ensure they are pliable before filling for your Easy ooey gooey cheese garlic creation to prevent tearing.
What other cheeses work well in this recipe?
Besides the classic mozzarella and cream cheese combination, feel free to experiment with other cheeses! Cheddar, Monterey Jack, or pepper jack for a spicy kick are excellent additions. A little bit of grated Parmesan can also add an extra savory note. This is a fantastic way to explore different Cheesy garlic bread variations and find your personal favorite blend.
How can I make this spicy?
If you love a bit of heat, you can easily make these wraps spicier! To add heat to your Ooey Gooey Cheesy Garlic wraps, incorporate a pinch of cayenne pepper directly into the chicken and cheese filling. You could also add some finely diced fresh jalapeños for a fresh kick, or simply mix in a tablespoon or two of your favorite hot sauce for that extra spicy punch.
Is this recipe good for meal prep?
Definitely! This recipe is fantastic for meal prep. You can make the chicken and cheese filling ahead of time and store it in the refrigerator for up to 3 days, making assembly a breeze. You can also assemble the uncooked wraps and then refrigerate them for quick meals throughout the week or freeze them for even longer storage.
Variations of Ooey Gooey Cheesy Garlic Wraps You Can Try
These wraps are so versatile, you can easily tweak them to suit your cravings or dietary needs. Here are a few ideas to get you inspired:
- Buffalo Chicken Ooey Gooey Cheesy Garlic: Amp up the flavor by adding your favorite buffalo sauce to the chicken mixture. This creates a delicious spicy kick that’s incredibly satisfying.
- Vegetarian Melty Cheese Garlic Bake: For a meat-free option, simply replace the chicken with a hearty mix of sautéed mushrooms, fresh spinach, and colorful bell peppers. It’s a delicious way to enjoy a melty cheese garlic bake without the meat.
- Garlic Herb Ooey Gooey Cheesy Garlic: Elevate the aroma and taste by incorporating finely chopped fresh herbs like chives, rosemary, or thyme directly into the cheese mixture. This adds a wonderful aromatic twist to the classic flavor.
- Mini Cheesy Garlic Pull Apart Bread Bites: Get creative by skipping the tortillas altogether! Use biscuits or slider buns, hollow them out slightly, fill with the Ooey Gooey Cheesy Garlic mixture, and bake until golden and bubbly for a fun appetizer that’s perfect for sharing.
Ooey Gooey Cheesy Garlic: 1 Easy Dinner Delight
Enjoy ooey gooey cheesy garlic chicken wraps. This recipe is quick, easy, and packed with flavor. Perfect for a family meal.
- Prep Time: 15 minutes
- Cook Time: 20 minutes
- Total Time: 35 minutes
- Yield: 4 servings 1x
- Category: Main Course
- Method: Pan-Fried
- Cuisine: American
- Diet: Vegetarian
Ingredients
- 2 cups cooked chicken, shredded
- 1 cup shredded mozzarella cheese
- ½ cup cream cheese, softened
- 2 tablespoons garlic, minced
- 1 teaspoon garlic powder
- 1 teaspoon chopped fresh parsley (optional)
- 4 large flour tortillas
- ½ teaspoon salt
- ½ teaspoon black pepper
- 1 tablespoon olive oil
- Cooking spray (optional)
Instructions
- Combine shredded chicken, mozzarella cheese, cream cheese, minced garlic, garlic powder, parsley, salt, and black pepper in a large bowl. Mix well.
- Warm tortillas in a skillet over medium heat for about 30 seconds per side until pliable.
- Place a tortilla flat. Spoon a generous amount of the chicken mixture onto the center.
- Fold the sides of the tortilla inward, then roll it tightly from bottom to top.
- Lightly coat a skillet with olive oil and heat over medium heat. Spray the outside of the wrap with cooking spray for crispiness.
- Place each wrap seam-side down in the skillet. Cook for 3-4 minutes per side until golden brown and cheese is oozing.
- Transfer wraps to a cutting board, let cool slightly, and cut in half diagonally.
- Serve warm to enjoy the gooey cheese.
Notes
- Use fresh ingredients for the best flavor.
- Serve with a side salad.
- Customize cheese types by adding cheddar or pepper jack.
- For Buffalo Chicken Wraps, add buffalo sauce to the chicken mixture.
- For a vegetarian version, replace chicken with grilled vegetables.
- Add herbs like thyme or oregano for an aromatic flavor.
- Store refrigerated wraps in an airtight container for up to three days.
- Freeze assembled uncooked wraps individually wrapped and store in a freezer bag for up to 2 months. Thaw overnight before cooking.
Nutrition
- Serving Size: 1 wrap
- Calories: Approximately 450 kcal
- Sugar: Approximately 3g
- Sodium: Approximately 700mg
- Fat: Approximately 20g
- Saturated Fat: Approximately 10g
- Unsaturated Fat: Approximately 10g
- Trans Fat: 0g
- Carbohydrates: Approximately 30g
- Fiber: Approximately 2g
- Protein: Approximately 35g
- Cholesterol: Approximately 90mg
