Hibiscus Tea Syrup Steps: Your Easy Guide. I’ve always loved the vibrant, ruby-red hue and the wonderfully tart, fruity flavor of hibiscus tea. Learning how to make hibiscus syrup at home was a game-changer for my drinks! This simple hibiscus syrup recipe transforms dried hibiscus flowers into a beautiful, sweet, and tangy liquid gold that’s perfect for everything from cocktails to lemonade. The aroma alone, as it simmers, is incredibly inviting. Let’s get this delicious syrup made!
Why You’ll Love Making Hibiscus Syrup
You’re going to adore this simple syrup for so many reasons:
- It boasts a stunning, vibrant color that instantly elevates any drink.
- The unique tangy and floral flavor adds a refreshing twist.
- It’s packed with beneficial antioxidants, making it a healthier choice.
- You’ll find this easy hibiscus syrup incredibly versatile in the kitchen.
- Making hibiscus flower syrup at home is surprisingly simple and rewarding.
- It’s a fantastic way to add natural sweetness and a beautiful hue.
- The bright, tart notes complement both sweet and savory dishes.
- It’s a wonderful homemade alternative to store-bought syrups.
Ingredients for Your Hibiscus Syrup
Gathering your ingredients for this beautiful hibiscus syrup is straightforward. You’ll need just a few key items to create this delightful, flavorful addition to your pantry. The star of the show is, of course, the dried hibiscus flowers, which give this syrup its signature color and tartness. Here’s what you’ll need:
- 2 cups dried hibiscus flowers – these are the key to that gorgeous color and tangy flavor.
- 2 cups water – the base for brewing our hibiscus tea.
- 1 to 1.5 cups sugar – this makes it a wonderfully sweetened hibiscus tea syrup, but feel free to adjust to your preferred sweetness level.
- 1 teaspoon vanilla extract (optional) – adds a lovely warmth and depth.
- 1 tablespoon lemon juice (optional) – brightens the flavors even more.
How to Make Hibiscus Syrup: Step-by-Step
Let’s get started on making this beautiful hibiscus syrup! It’s a really straightforward process, and before you know it, you’ll have a jar of liquid sunshine ready to use. These hibiscus syrup preparation steps will guide you through creating a delicious, vibrant syrup.
- Step 1: Start by bringing your water to a boil. Grab a medium saucepan and add 2 cups of water, then place it on the stovetop over high heat until a rolling boil is achieved.
- Step 2: Once the water is boiling, carefully add the dried hibiscus flowers. Give them a moment to start infusing the water.
- Step 3: Reduce the heat to low and let the mixture simmer gently for about 10 minutes. You’ll see the water transform into a rich, deep red color, and the petals will soften as they release their flavor and color. This is a key part of the hibiscus tea syrup recipe steps.
- Step 4: Now it’s time to strain the liquid. Use a fine-mesh strainer to separate the hibiscus tea from the flowers. Pour the vibrant liquid into a clean bowl or jar, making sure to discard the steeped petals.
- Step 5: While the hibiscus tea is still warm, it’s time to add the sweetener. Stir in your sugar, starting with 1 cup and adding more if you like it sweeter, up to 1.5 cups. Add the vanilla extract and lemon juice, if you’re using them. Keep stirring until all the sugar is completely dissolved.

Pro Tips for the Best Hibiscus Syrup
Want to elevate your hibiscus syrup game? I’ve picked up a few tricks that make all the difference:
- For a different take, you can even try making hibiscus syrup from tea bags! Just steep several tea bags in hot water until you get a concentrated brew.
- Don’t be afraid to experiment with other additions. A few fresh mint leaves or a sprig of basil added during the steeping process can create wonderfully aromatic variations.
- If you prefer a less sweet syrup, start with the lower amount of sugar and taste as you go. You can always add more!
- Consider alternative sweeteners like honey or agave syrup for a different flavor profile and to cater to different dietary needs.
What’s the secret to perfect hibiscus syrup?
The real secret to the best way to make hibiscus syrup is balancing the tartness of the hibiscus with the sweetness of the sugar. Tasting and adjusting the sugar as it dissolves is crucial, as the intensity of the hibiscus flowers can vary. For more culinary inspiration, explore our collection of recipes.
Can I make hibiscus syrup ahead of time?
Absolutely! Once it’s cooled completely, you can store your hibiscus syrup in an airtight container in the refrigerator for up to 3-4 days. It’s perfect for prepping ahead for cocktails or refreshing drinks.
How do I avoid common mistakes with hibiscus syrup?
A common pitfall is over-steeping, which can make the syrup too bitter. Simmer for just 10 minutes. Also, ensure all the sugar is completely dissolved before you stop stirring; undissolved sugar can affect the syrup’s texture and shelf life. You can learn more about proper food preparation techniques from resources like the FDA’s safe food handling guidelines.
Best Ways to Serve Your Hibiscus Syrup
This vibrant syrup is incredibly versatile! One of my favorite ways to use it is in cocktails and mocktails. A splash of this hibiscus syrup adds a beautiful color and a delightful tangy-sweet note to gin fizz, margaritas, or even just sparkling water for a refreshing treat. It’s truly a fantastic addition for “hibiscus syrup for drinks.”
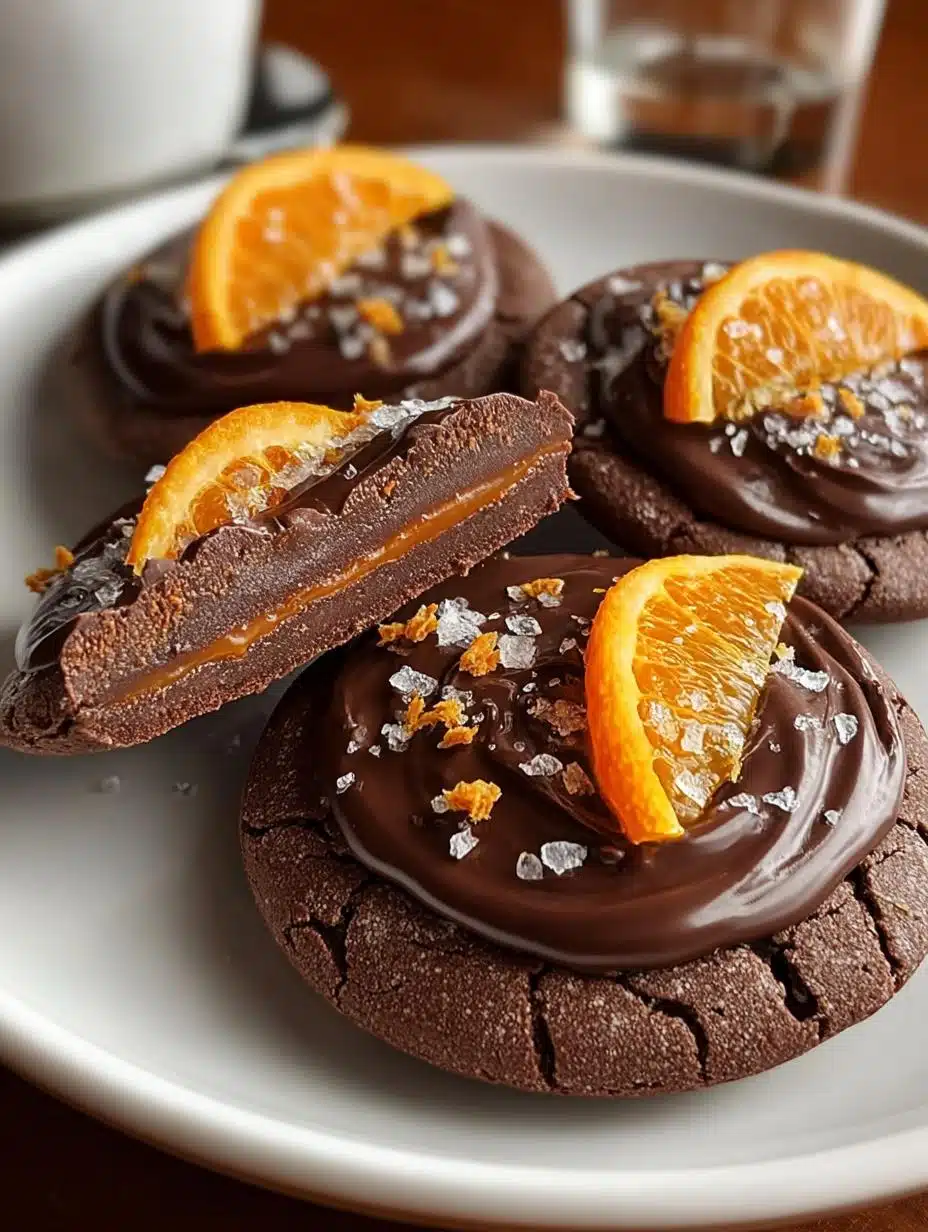
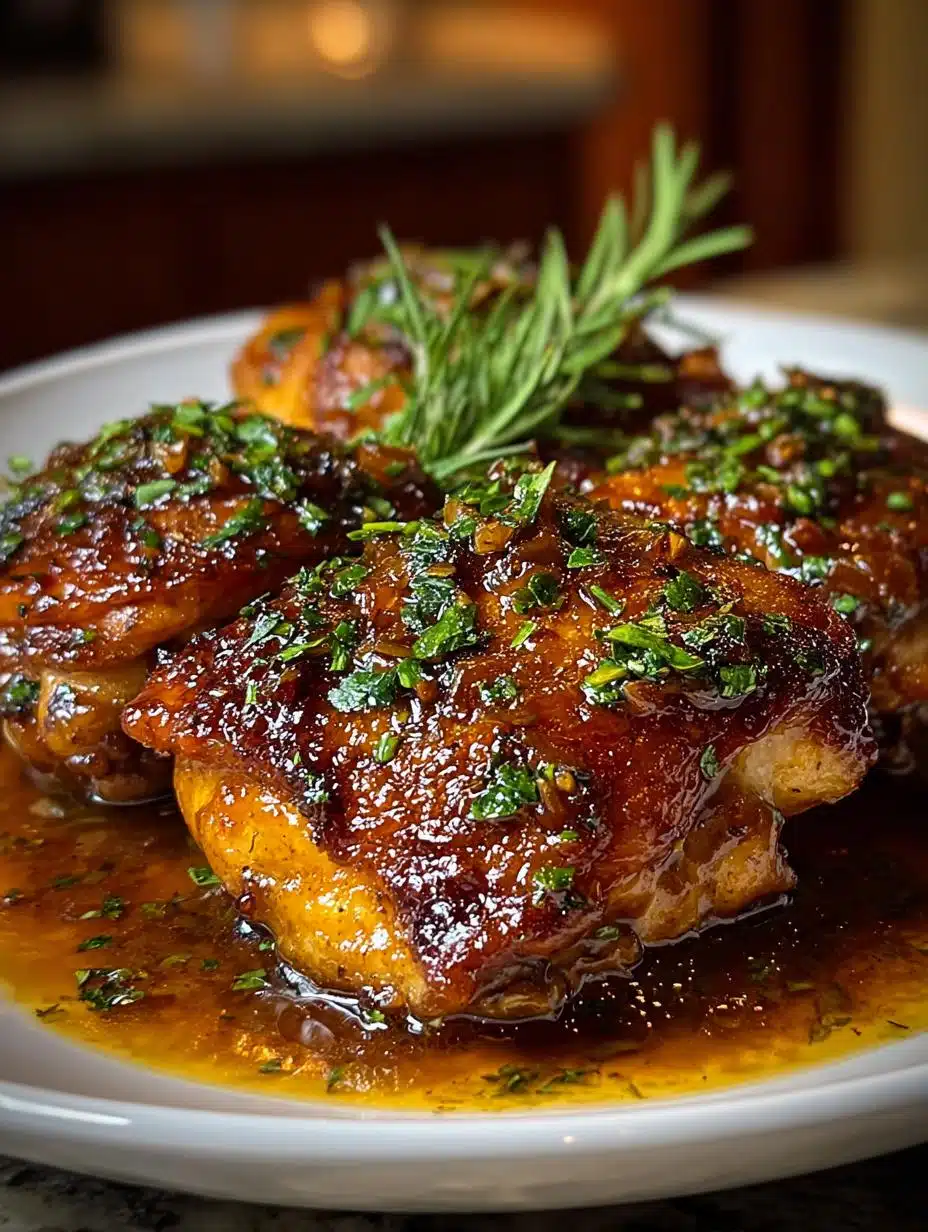
Beyond beverages, I love drizzling it over ice cream or yogurt for a burst of fruity flavor. You can also use it as a glaze for grilled chicken or pork, adding a unique sweet and tart dimension to your meals. It’s a simple way to make everyday dishes feel a little more special! For a similar flavor profile in a main dish, try our Mediterranean Chicken Zucchini Bake.

Nutrition Facts for Hibiscus Syrup
Knowing the nutritional breakdown helps when enjoying this delicious syrup. Here’s what you can expect per serving, based on our recipe:
- Calories: 60-80 (estimated)
- Sugar: 15-20g (estimated)
- Sodium: 0mg
- Fat: 0g
- Carbohydrates: 15-20g (estimated)
Nutritional values are estimates and may vary based on specific ingredients used, especially the amount of sugar you choose to add.
How to Store and Reheat Hibiscus Syrup
Once you’ve gone through the hibiscus syrup uses, proper storage is key to keeping it fresh and delicious. After completing the steps to make your hibiscus syrup, allow it to cool completely to room temperature. This is super important before transferring it to your storage container. I find that a clean glass jar with a tight-fitting lid works best for both refrigerator and freezer storage.
For everyday use, store your hibiscus syrup in the refrigerator. It should stay good for about 3 to 4 days. If you want to keep it longer, you can absolutely freeze it! Transfer the cooled syrup to freezer-safe containers or bags, leaving a little headspace for expansion. Frozen hibiscus syrup will last up to 3 months, giving you plenty of time to enjoy its bright flavor. If you’re looking for other delicious ways to use fruit, consider our Jalapeno Buffalo Chicken Casserole which also features vibrant flavors.
Reheating is simple if your syrup solidifies in the fridge or you want a warmer consistency. Just place the jar in a bowl of warm water for a few minutes until it reaches your desired temperature. It’s ready to use in your favorite drinks or desserts!
Frequently Asked Questions About Hibiscus Syrup
Is it worth making hibiscus syrup at home?
Absolutely! Making your own DIY hibiscus syrup is incredibly rewarding. It’s much more affordable than buying specialty syrups, and you have complete control over the sweetness and flavor intensity. Plus, the process is simple and fun! For more simple recipes, check out our Chicken Meatballs with Lemon Orzo.
Can I use fresh hibiscus flowers instead of dried?
While the recipe calls for dried hibiscus flowers, you can experiment with fresh ones. You’ll likely need a larger quantity of fresh flowers to achieve the same concentrated flavor and color as dried. Start with about double the amount and adjust as needed.
How much sugar should I use for my hibiscus syrup?
The recipe suggests 1 to 1.5 cups of sugar for 2 cups of water and hibiscus. I personally prefer starting with 1 cup and tasting it. If you like it sweeter, add more gradually. Remember, the tartness of hibiscus can vary, so tasting is key to the best way to make hibiscus syrup for your palate.
What are the key differences between hibiscus syrup and hibiscus cordial?
While often used interchangeably, “cordial” sometimes implies a slightly thicker, more concentrated syrup, often with added spirits or a longer shelf life. The basic hibiscus cordial steps are very similar to making syrup, focusing on extracting flavor and sweetness. Our recipe provides a versatile syrup that can be used in many ways a cordial might be. For another flavorful dish, consider our Teriyaki Chicken Sheet Pan Supper.
Variations of Hibiscus Syrup You Can Try
Once you’ve mastered the basic hibiscus syrup recipe, don’t be afraid to get creative! There are so many delicious ways to tweak this simple syrup to suit your tastes and dietary needs. For a different sweetener profile, try swapping the granulated sugar for honey or agave nectar. These natural sweeteners add their own subtle flavors and can be a great option for those looking to avoid refined sugar. If you’re interested in exploring more unique flavor combinations, our Romanian Fried Meatballs (Chiftele) offer a different culinary adventure.
You can also infuse your syrup with fresh herbs during the steeping process. A few sprigs of mint or basil added with the hibiscus flowers can create wonderfully aromatic variations. For a more complex flavor, consider adding a cinnamon stick or a few star anise pods to the simmering mixture. These simple additions can transform your basic syrup into something truly special, and they are very similar to the hibiscus cordial steps you might follow for a more traditional preparation.
PrintHibiscus Tea Syrup Steps: 5 Easy Secrets

Learn how to make hibiscus tea syrup with this easy step-by-step guide. This sweet and tangy syrup, made from dried hibiscus flowers, adds a vibrant color and unique flavor to drinks, desserts, and more. It’s a versatile kitchen staple packed with antioxidants.
- Prep Time: 10 minutes
- Cook Time: 15 minutes
- Total Time: 45-55 minutes (including cooling)
- Yield: Approximately 2-3 cups 1x
- Category: Syrup
- Method: Simmering and Steeping
- Cuisine: General
- Diet: Vegetarian
Ingredients
- 2 cups dried hibiscus flowers
- 2 cups water
- 1 to 1.5 cups sugar (adjust to taste)
- 1 teaspoon vanilla extract (optional)
- 1 tablespoon lemon juice (optional)
Instructions
- Boil Water: In a medium saucepan, bring 2 cups of water to a boil.
- Add Hibiscus: Once boiling, add the dried hibiscus flowers to the water.
- Simmer: Reduce heat and let the mixture simmer for about 10 minutes until the color deepens, and the petals have steeped well.
- Strain: Using a fine mesh strainer, strain the hibiscus tea into a separate bowl or jar, discarding the solid flowers.
- Sweeten: While the tea is still warm, stir in sugar (1 to 1.5 cups based on your preference). Add vanilla extract and lemon juice, if using, and mix until dissolved.
Notes
- Experiment with herbs like mint or basil for added flavor.
- Consider honey or agave syrup as alternative sweeteners.
- Serve in clear glasses with edible flowers for visual appeal.
- Adjust sweetness as needed; flavor can vary based on hibiscus flowers.
- Use in marinades for meats to impart a unique flavor.
Nutrition
- Serving Size: 2 tablespoons
- Calories: 60-80 (estimated)
- Sugar: 15-20g (estimated)
- Sodium: 0mg
- Fat: 0g
- Saturated Fat: 0g
- Unsaturated Fat: 0g
- Trans Fat: 0g
- Carbohydrates: 15-20g (estimated)
- Fiber: 0g
- Protein: 0g
- Cholesterol: 0mg